I signed up for my first Swap ever too, the I Want to Learn to... Swap on Craftster. (And my swap partner should probably stop reading this blog right about now...) I was rather hoping to get someone who would teach me to cross-stitch, but in retrospect, sewing is a lot more useful for me right now. If only I could get my hands on a sewing machine somewhere...
*hopes swap partner has gone*
This is also my first non knitting pattern DIY post! (With another planned for sometime soon) I'm supposed to be teaching my partner to knit but, with bamboo needles being so very expensive, I figured I might as well teach myself how to make them. I know, there's already a sticky thread on Craftster for this, but it's a bit vague and I rather like my pictures. So:
Materials:
- (preferably unused) bamboo chopsticks (I found that the ones from take-out Asian restaurants are of rather poor quality. Places that try to maintain an image, like my local Noodles & Company, have much better supplies.)
- sand paper sheet (i used a foam block sander too, for maximum comfort)
- half a bottle of cheap, clear nail polish
- polymer clay
- Epoxy
- a toothpick
- household oven
- aluminum foil
- a paper napkin
- oven-safe dish (I used a bread pan because I was making beads too, and an unfolded paperclip spans that gap easily.)
- some music (Depending on the number of chopsticks, this could take a while. And check out my sexy cassette player/radio.)

Steps:
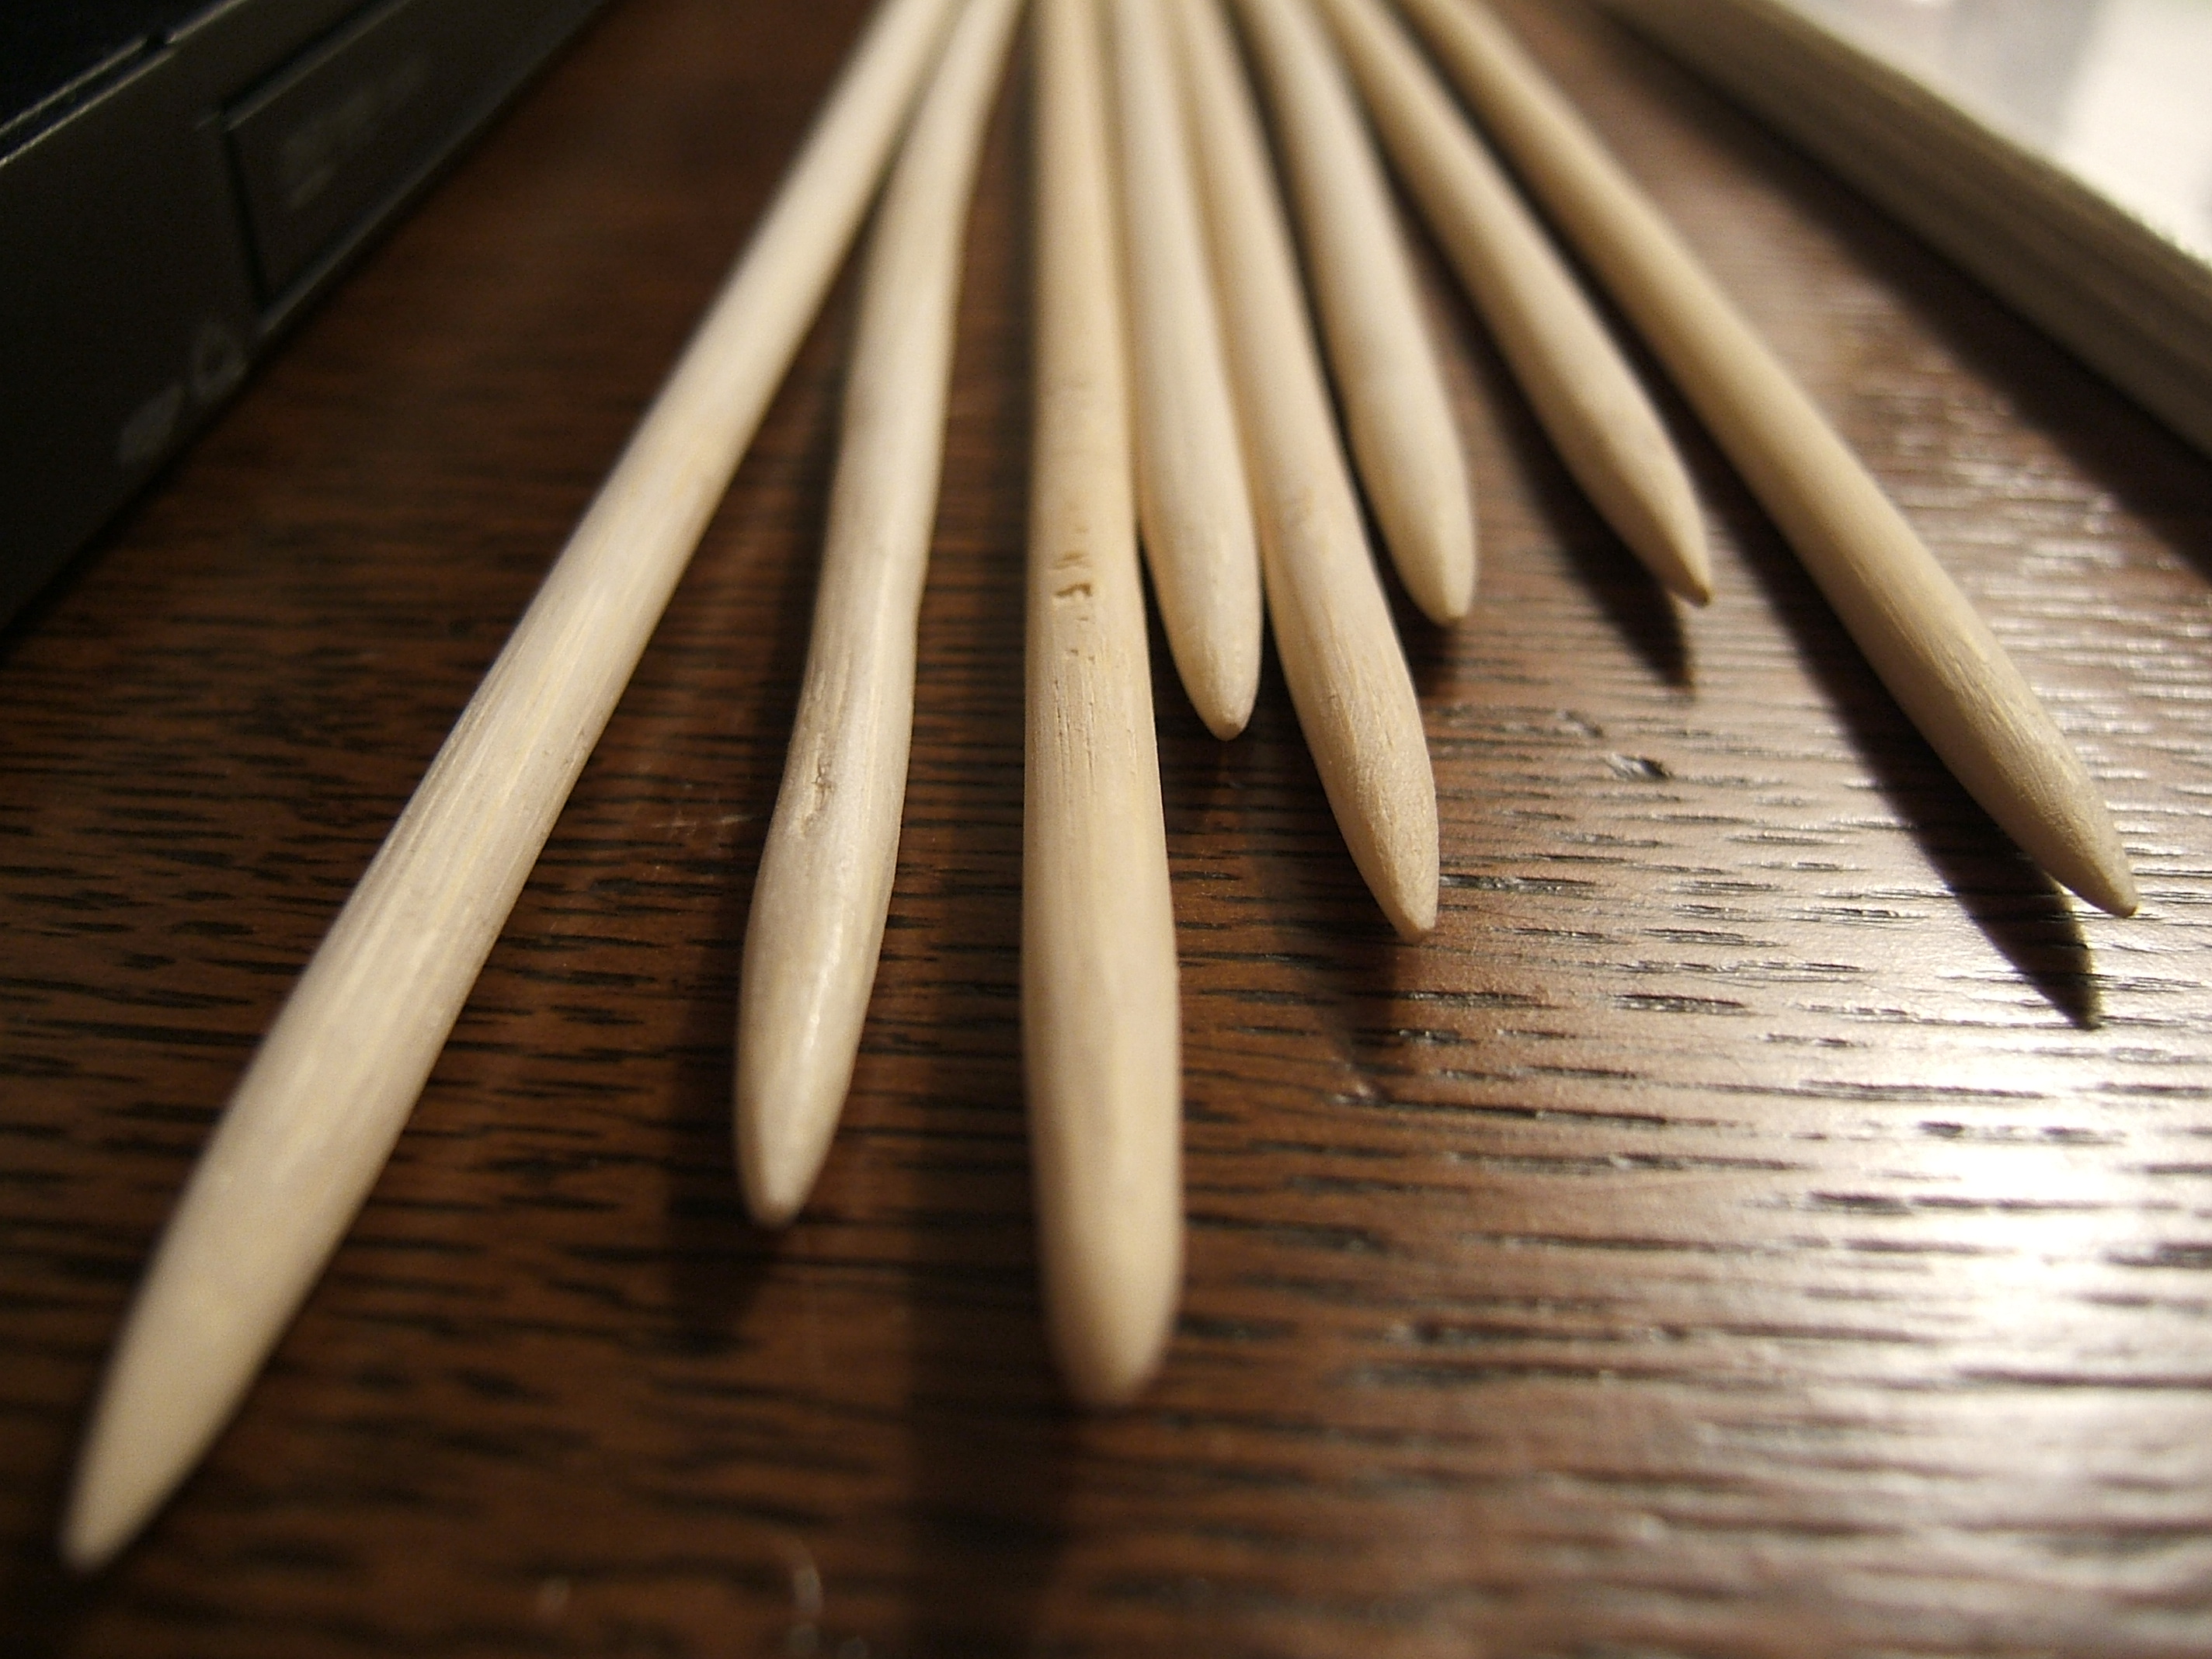
1. Sand down your chopsticks. It's easiest to start with a basic sanding of the stick, since it's the quickest, and then work on the points. It can also be difficult getting really pointy points, but you can with just the right angle.

2. Varnish your pointy sticks with the nail polish. Tip: Hold it at the blunt end. You won't have to varnish that end because we're covering it anyways. While you're waving your sticks around to dry them faster, get high on fumes.

3. Make your knitting needle toppers. Mix bits of color together, coat a ball in slices of cane, or whatever. I got bored with caning and I like the mixed ones better anyways.
4. Press the blunt ends of your needles into the balls of poly clay. You'll want to push them in rather deeply, for security reasons, and try to maintain the spherical shape. These indents are where you'll later glue in your needles.
5. Bake the poly clay balls on the aluminum foil-lined dish for about 10 minutes. My instructions gave a temperature of 275F, but check to be sure.
6. After the toppers are baked, mix the Epoxy. Using a toothpick, smear some into the indents and push in the needles. If any squeezes out, wipe it off quickly with a napkin.
7. Let the Epoxy set. The time depends on the type of Epoxy. I accidentally chose slow drying epoxy, so this was my lunch break.
8. Coat the toppers in a layer of nail polish if you like the shiny look. If not, you were done way back at step 7...
And whahlah:

Notes: Unfortunately, you can't expedite this process by baking the polyclay balls directly onto the needles, as this will melt the varnish and ruin it. Young could varnish the entire needle contraption last, but I like the added Epoxy bonding. If you don't have Epoxy at hand, sand, add poly clay, bake, and then varnish, and you should be alright. And just in case you need proof, the top one was baked, while the bottom wasn't:

Good luck, and I'll try to be back soon with more!
-Cristy
This looks so cool! Except I don't knit anymore :P
ReplyDeleteWhat a great idea ! I wanted to put some gift baskets together for my girlfriends who knit, and was looking for a theme to tie the colored yarn together - this is a perfect idea ~ thank you so much - I now have a project for my days off.......
ReplyDelete