The Wellesley Scarf
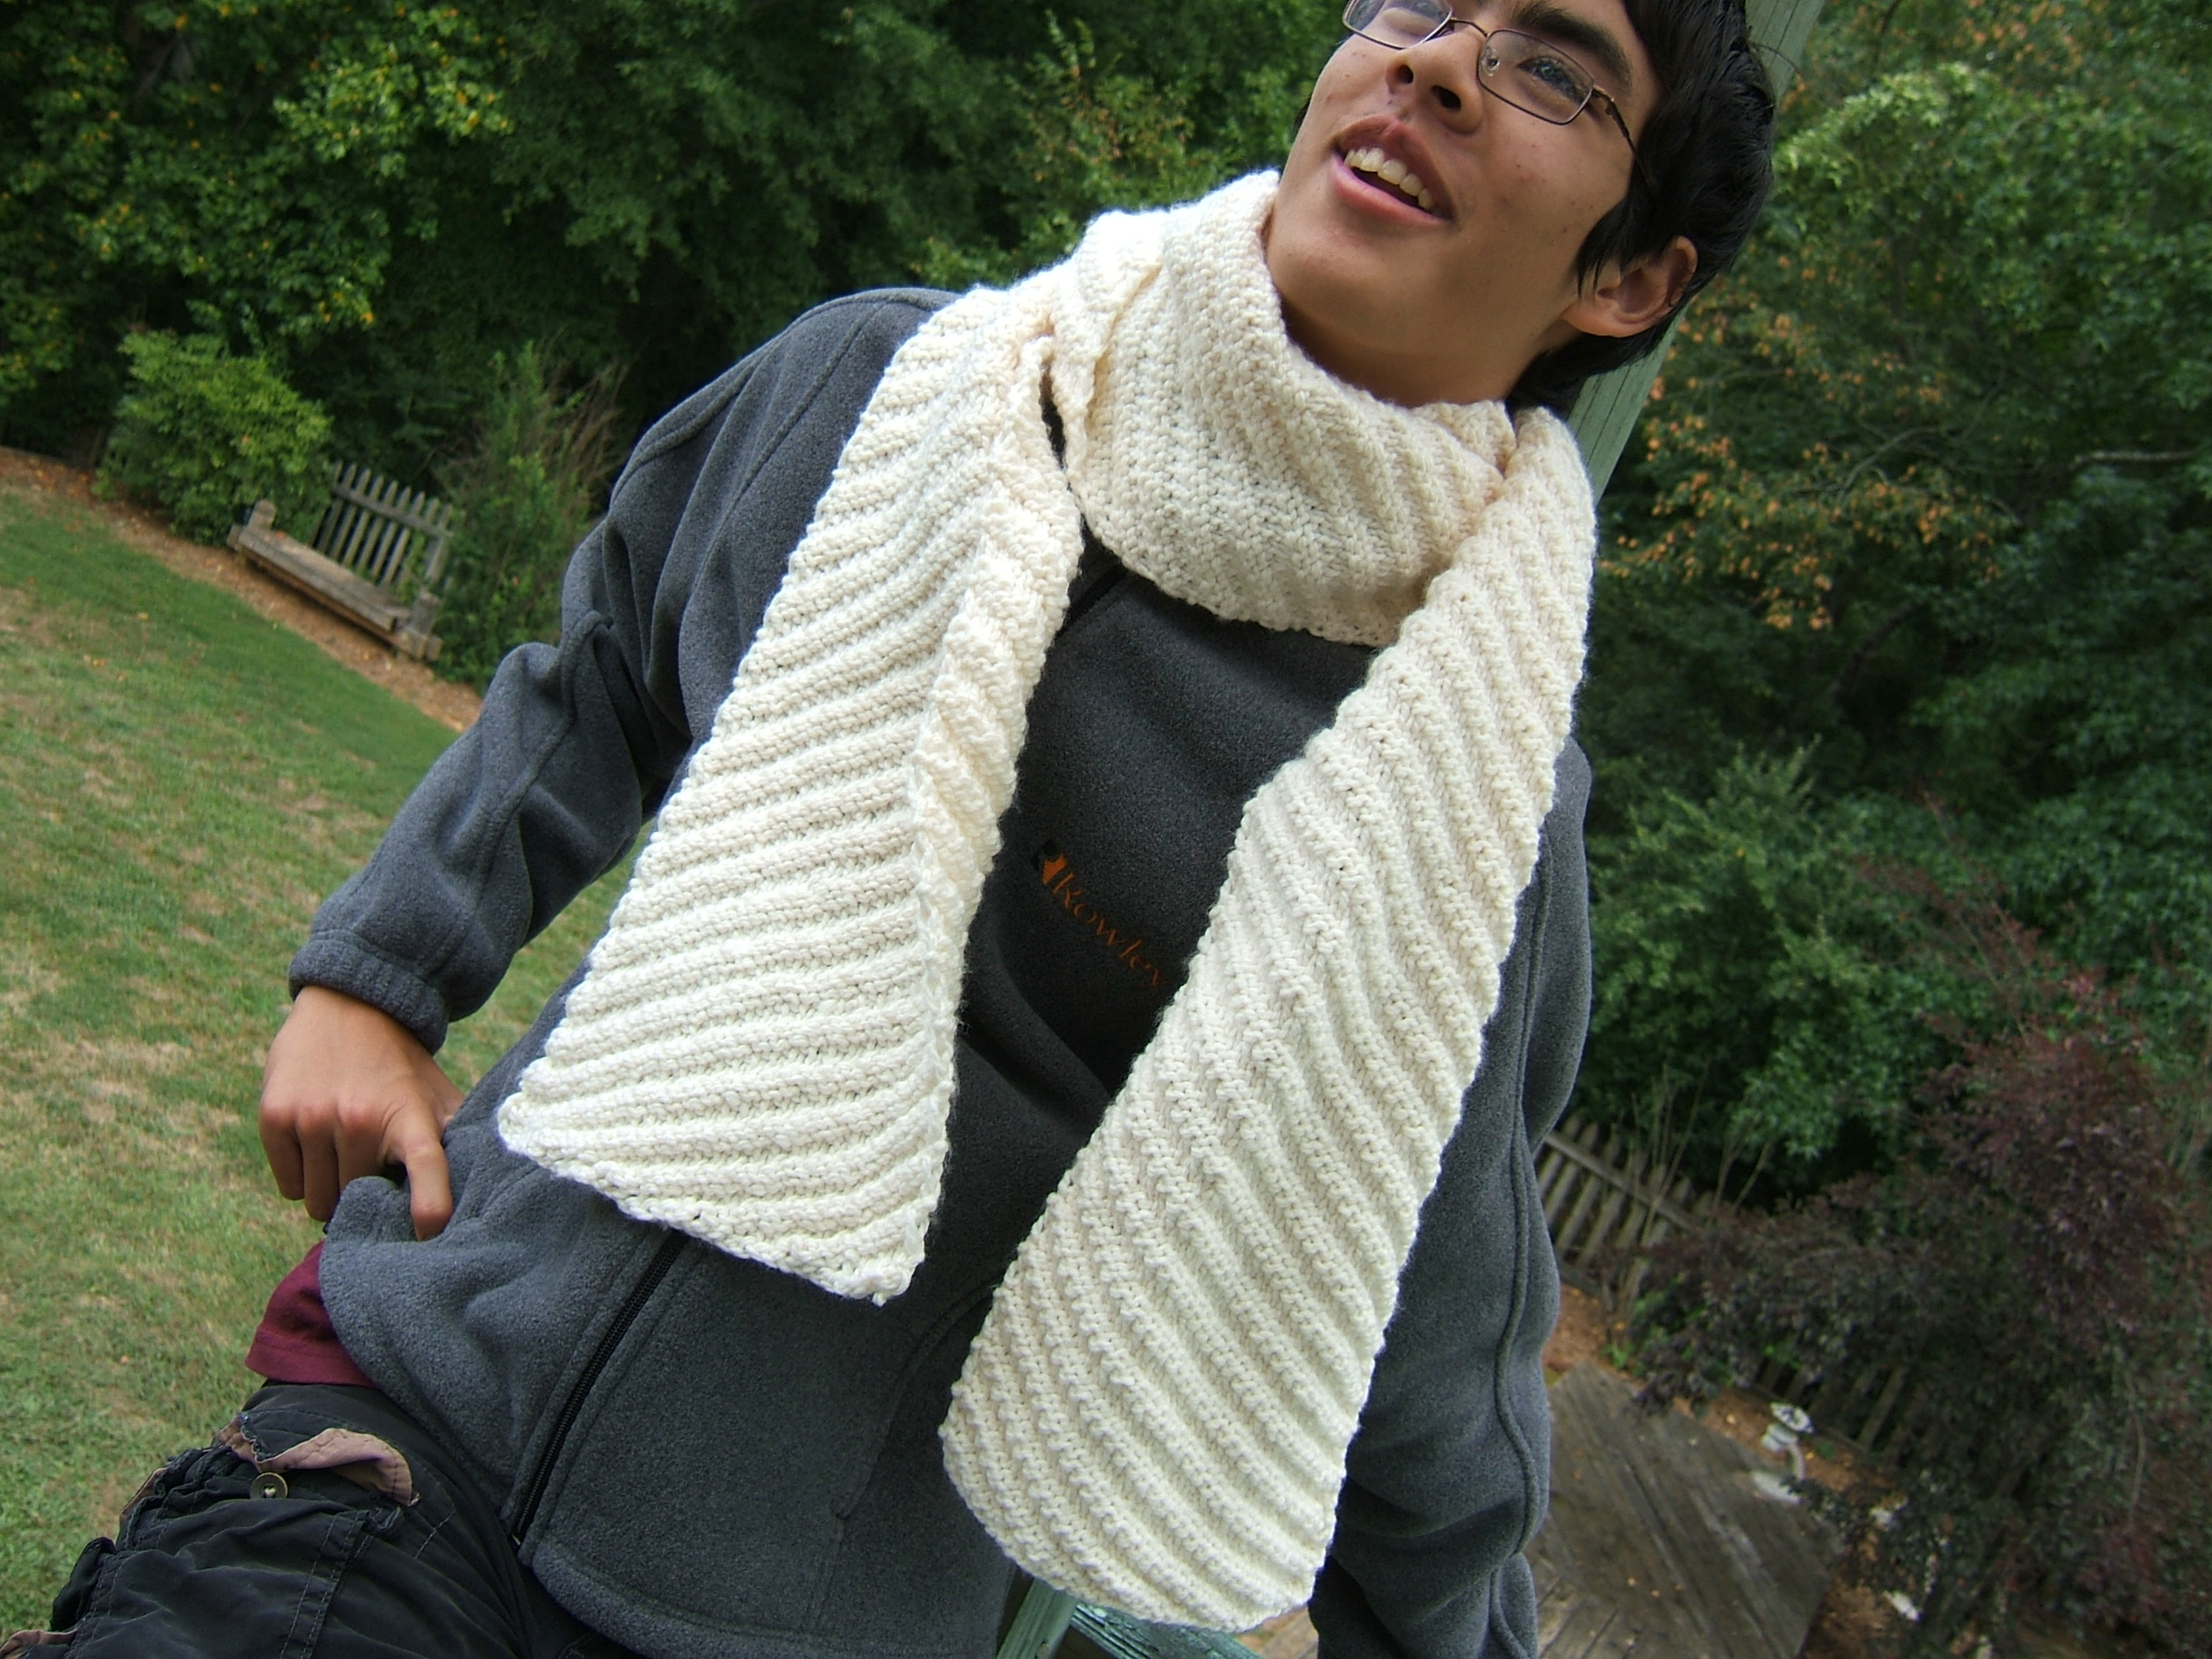
My charming brother offered to model for me in North Carolina's July heat. Keep in mind, he's about 6 feet tall and it's wrapped twice around his neck.

Detail:

Use any yarn and the recommended straight needle size. I used Bernat Softee Chunky in Natural on size 8 needles
Cast on some multiple of 6. Repeat each row's directions until you reach the end of that row. For neater edges, slip the first stitch in each row.
Row 1: K3, P3
Row 2: P1, K3, P2
Row 3: K1, P3, K2
Row 4: P3, K3
Row 5: P2, K3, P1
Row 6: K2, P3, K1
Repeat Rows 1-6 until you run out of yarn.
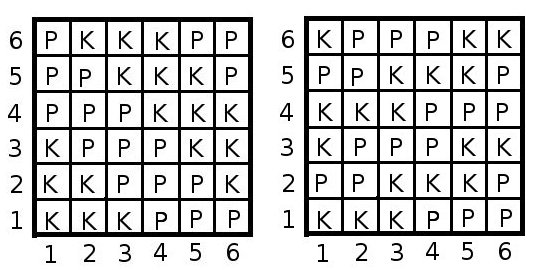
For those of you who prefer a chart view, I've created two charts. The first is what the pattern should look like from the right side and is a bit easier to decipher. The second chart should be followed starting at the (1,1) block, worked to the right, jump up to the (6,2) block and worked to the left and so forth, weaving back and forth across the chart. I clearly need to learn how to make charts...

I think I'll go learn how to make a chart now...
Edited to add: Thanks in part to the efforts of the fabulous knitters on Ravelry, I've got some additional ideas. The first was discovered by accident, although I'm still not entirely sure it's not just a mistake in my pattern. Instead of continuing the diagonal lines in the same direction for the entire scarf, reverse the direction of the diagonals once the diagonal that started on the left has reached the right side (or vice versa). The next is my suggestion after seeing a few examples (sorry!). Instead of shifting the knit/purl pattern over every row, only shift the ribs on alternating rows. This will give the scarf ribs a more gradual slope and help elongate the appearance of the scarf. Here's an excerpt of what the pattern would look like:
1- K3, P3, repeat across
2- repeat row 1
3- K2, P3, K1, repeat across
4- repeat row 3
5- K1, P3, K2, repeat across
6- repeat row 5
Even though I have no intention of testing the pattern out any time soon (it's April in North Carolina, people!), I'll try to add an image as soon as possible.
-Cristy
This will make the perfect prayershawl pattern! I totally <3 this pattern!
ReplyDeletePrayer shawl?? Wow, I never imagined this pattern would be used for a prayer shawl... *shrug* First a bag, now a prayer shawl! I love it! Please, please, post pictures somewhere when you finish it! (There's always the Flickr.) This is really exciting!
ReplyDeleteI'm making this because I have too many hats, and not enough scarfs, and I love making them both ;)
ReplyDeleteBy the way, it was nice of your brother to model it for you in the middle of July, no less!
-NerdyNunchucks/NoobyKnitter <--(Rav)
Just letting you know I made this scarf for my grandmother (for Christmas!) and it came out wonderfully well! Made it in a bamboo/acrylic/polyester blend and is beautiful. Thanks for the pattern!
ReplyDelete